Tag: Games
I'm going to focus on the meat of the party...the activities and food! This particular party was super fun because of the games we put together. Hopefully this will help give you some ideas for your own party!

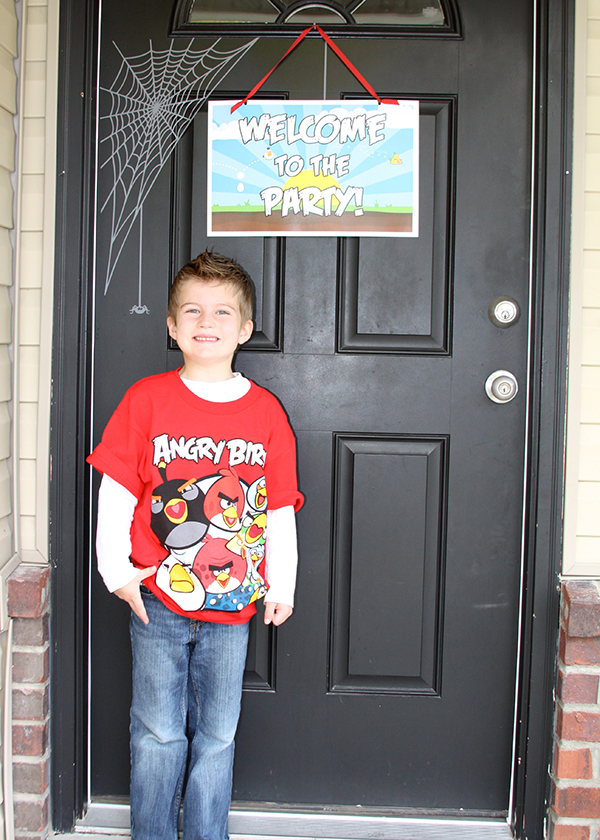
This was the first thing you saw when you walked in the door. Luckily, the boys didn't know what it really was, so it was fun just to use it as decor at the beginning. This was the first clue to our treasure hunt. I'll go into more detail in just a minute.... first I need to talk about the food....because we all know that's the motivating factor behind every party ;)-
I wanted some cute, creative, and original treats, without paying a lot of money for them. So I thought of Rice Krispie Treats! I whipped up a few batches, dyeing the marshmallows for the particular critters: Green for the pig, Red for the bird, and plain for a few other birds. Side note: I attempted to make a black one... that did NOT work out lol! I'd suggest staying away from that one. I didn't have yellow dye, so I think it'd be cute to add that color in there as well. I made my treats and used cookie cutters to shape them. If you don't have a triangle and circle cookie cutter, use your hands to shape them accordingly before they harden. Don't forget to add the little details of the feathers and ears!

I made a batch of icing, colored small bowls in a few colors to pipe onto the shapes. I used cany corns, licorice, and M & Ms for the faces.
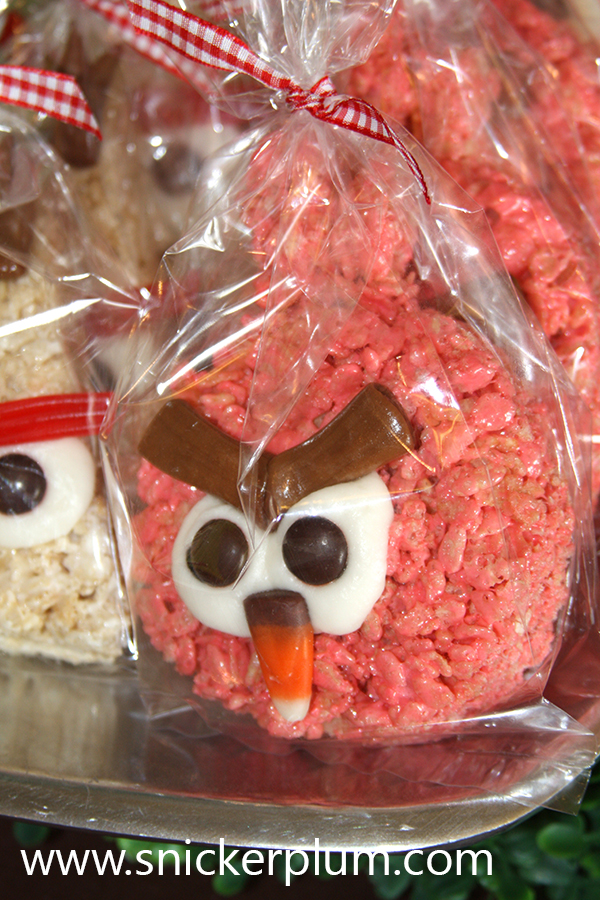
This red one I used icing for the eyes and eyebrows. M&Ms came in for the eyes and candy corn for the beak.

Again, Icing for the eyes, with M&Ms for the pupils, candy corn for the beak, and licorice for the "Angry Eyes".
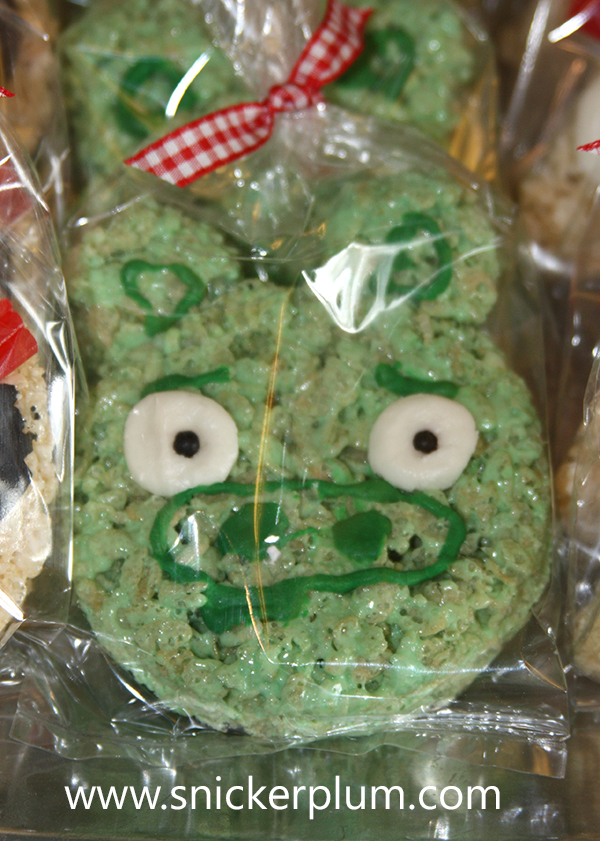
And for some reason, this cute guy was the biggest hit for the boys. They all wanted this one! Icing was the only thing I used on this one.
There was one more that I made, but I'm too embarrassed about that one- so no details for you! lol. Just pretend it's not in the picture above :)
Just make sure you wait a while for the icing to dry out before wrapping them.
Onto the games!
While we were waiting for kids to show up, I was able to print off some coloring pages for them to color. You can check them out here
Once they were all present, we started on to the Treasure Hunt. This was the fun part! I wanted this game to flow similar to the actualy Angry Birds game, so I had to keep that in mind. With wach clue, they ran around inside and outside. However, I avoided anything going into the backyard, since that was where the "treasure" was. In this package, you get 6 custom pages. With those pages, you can have whatever you want on them. I used them for clues to this game.

And in true form, I forgot to take a picture of the final treasure!! Seriously, wanted to kick myself, but I was wrapped up in the moment :) I'll just explain how I put it together....so use your imgination!
I got a bunch of smaller boxes and set them up like the towers in the game. I then got all the stuffed birds and pigs I got and placed them all over those boxes. Above it, I had an Angry Bird Pinata hanging to the side. You can get the pinata from Walmart here if your store doesn't have one OR here is a tutorial to make your own. Party City usually has some, but they didn't have the red bird when I went in. They do have the green pig though :)
Once they came to the backyard, they were totally excited to play the game in the large, REAL version.
Once they did the pinata, they were able to each take one of those boxes to put all their goodies in to take home with them. And I'm sure the mom's were all happy with me, sending them home with a box full of rice krispie treats, candy, thank you buckets (which had more candy), and cupcakes....I'm awesome like that sometimes ;)-
Speaking of Thank-you buckets, here's what I did:
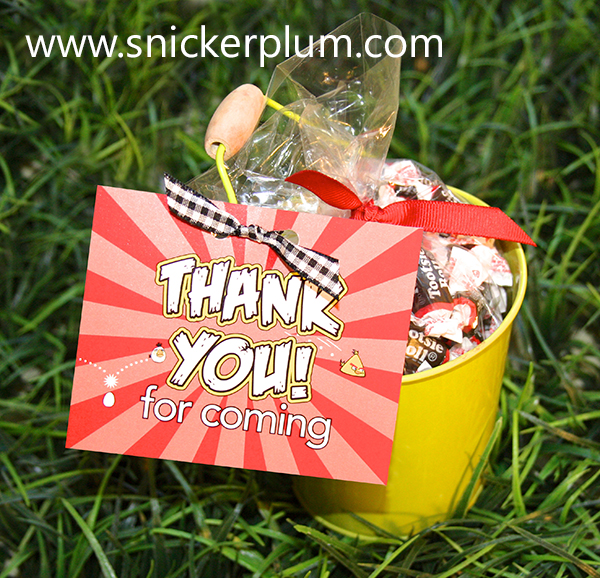
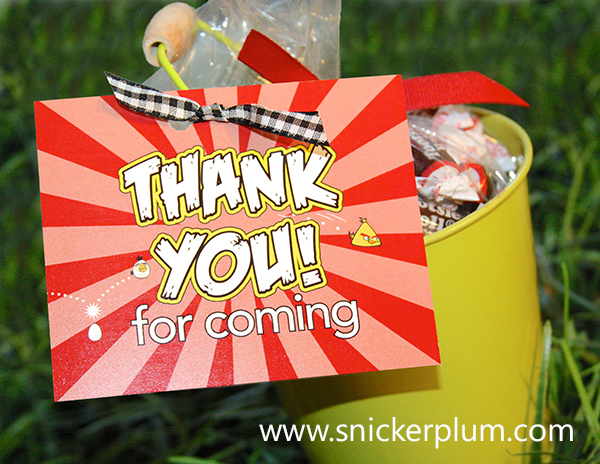
I went to the dollar store and got little buckets and attached the thank-you tag to it with some ribbon, filled it with some candies, and called it good!
Part of the whole package, you get some cute cupcake wrappers and toppers and Water Bottle wraps. Both are designed with the same colors and birds. **You can also purchase the toppers and wrappers separately! Either in Printed form, or PDF form to print and cut out yourself.
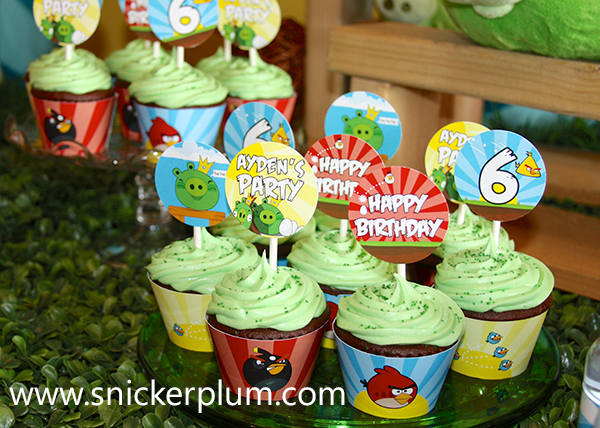

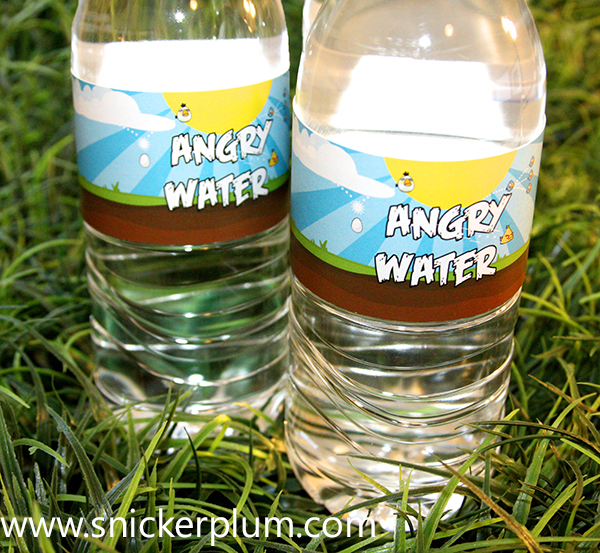
The grass you see... I found those at the dollar store. They are placemats! So don't be afraid to "think outside the box" when it comes to decor.
The final two details I really wanted to share with you are the boxes and plates. I have a Cricut machine, and was able to cut out some vinyl faces and put onto little chinese boxes and regular paper plates to make the party items just a little more customized. If you don't have access to a machine of your own, message me when you purchase the package and I will quote you a price to add that in.

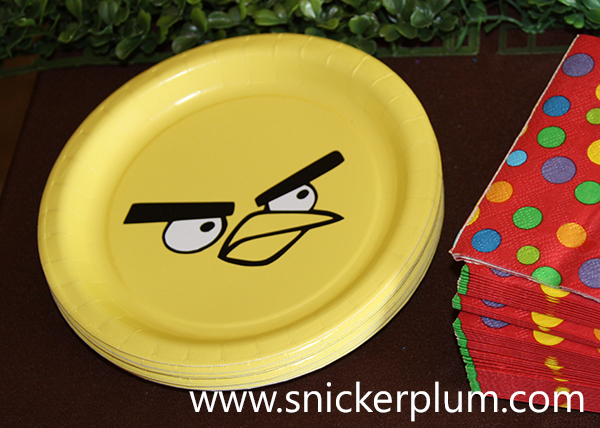
With all that was done, it was a super hit! This was seriously one of the funnest parties I've put on. The boys had so much fun, my son was on cloud 9 the whole time, and the boys got to all take home some fun items and food to enjoy later.
Be sure to check out our store! You can purchase this party package in either physical form or printable form!
Check out our previous post on decorations here!
And here is my happy boy after everything was done. Think he looks happy with how it all went?!
